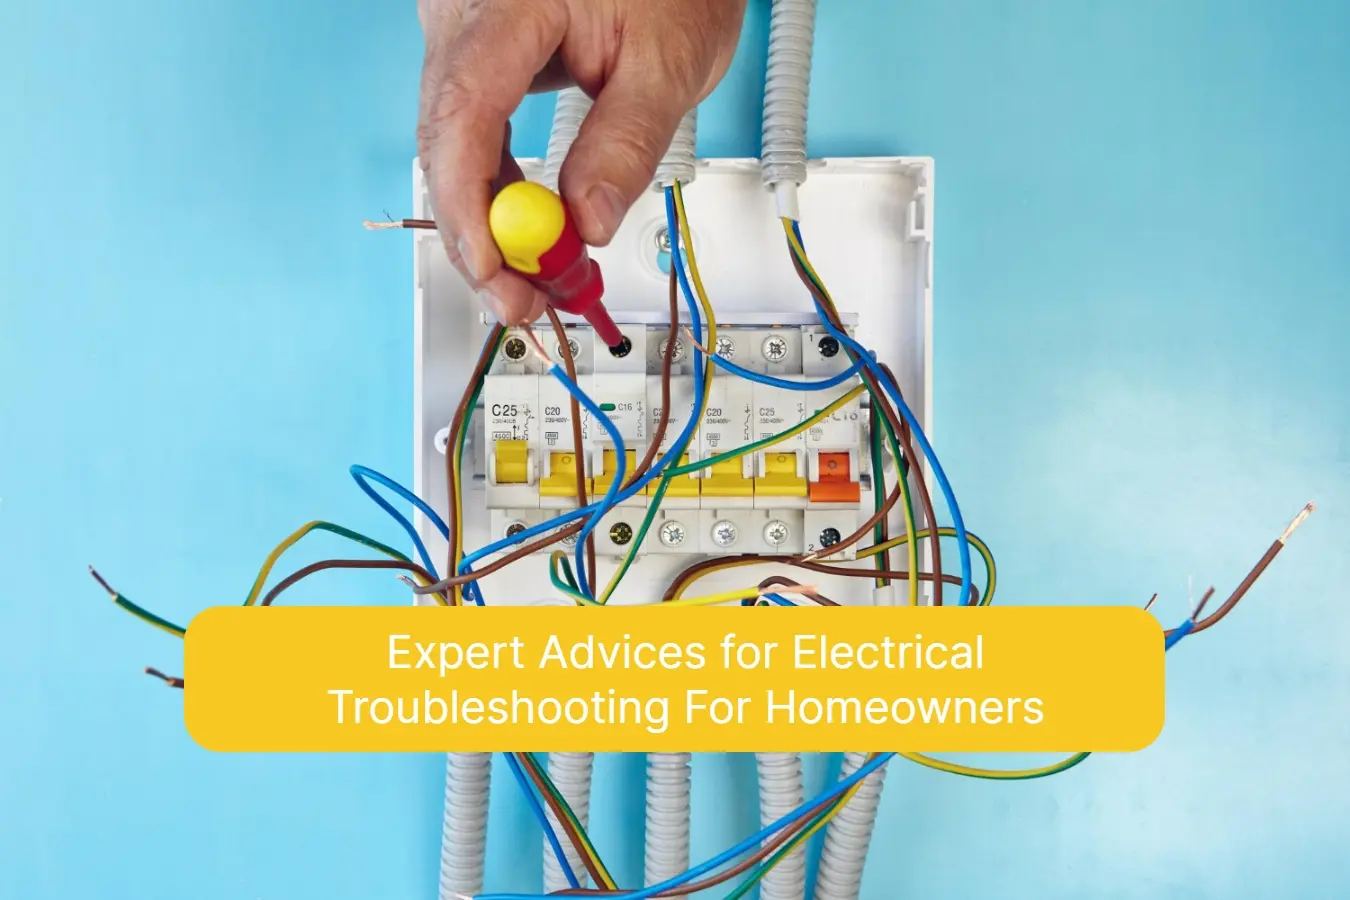
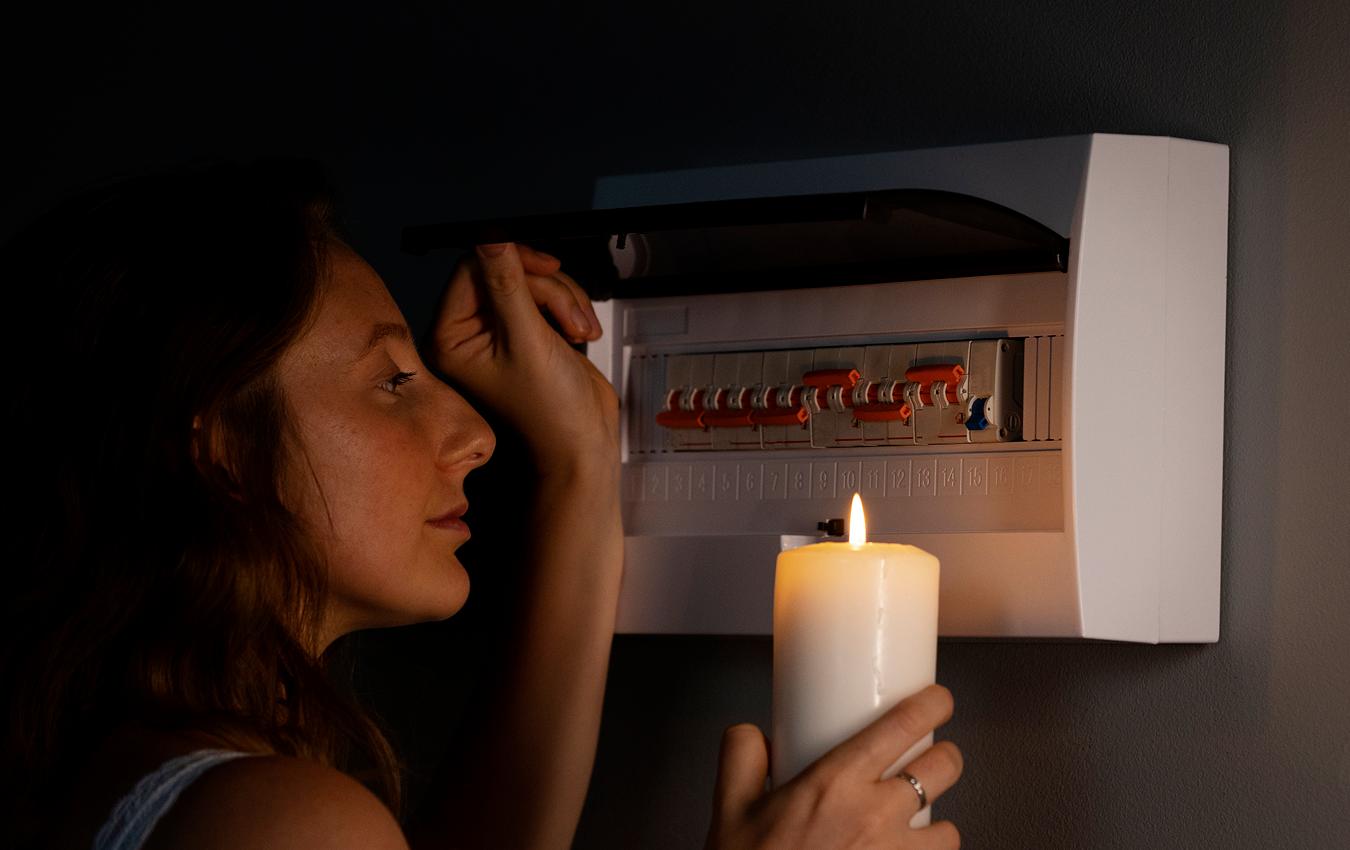
Are you tired of paying hefty bills to electricians every time you encounter a minor electrical issue? It’s time to take matters into your hands and harness your electrical troubleshooting skills! In this article, we will provide expert advice for both homeowners and professionals, helping you become your electrician.
Whether it’s a flickering light, a faulty outlet, or a short circuit, understanding the basics of electrical troubleshooting can save you time, money, and needless frustration. We will guide you through step-by-step processes, providing tips and tricks that will empower you to diagnose and fix common electrical problems.
With our expert advice, homeowners can feel confident in their ability to handle electrical issues independently, whether it’s changing a faulty switch or rewiring a socket. And professionals can enhance their existing skills, refining their troubleshooting abilities and improving their efficiency on the job.
Don’t let electrical problems trip you up – become the master of your circuits! Read on to unlock the secrets of electrical troubleshooting and gain the confidence to handle any electrical issue that comes your way.
The Importance of Electrical Troubleshooting
Electrical troubleshooting is a crucial skill that every homeowner and professional should possess. Not only does it help you save money on unnecessary repairs, but it also ensures the safety of your home or workplace. By identifying and resolving electrical issues promptly, you can prevent potential hazards such as electrical fires and electrocution.
Additionally, being able to troubleshoot electrical problems gives you a sense of independence and empowers you to take control of your surroundings. No longer will you have to rely solely on electricians to resolve every small issue that arises. Instead, you’ll have the skills and knowledge to tackle common electrical problems with confidence.
Do you need the help of a professional electrician for electrical troubleshooting? Premier Electrical Services will quickly and efficiently perform electrical troubleshooting related to any problems in the home electrical network. Call us at 954-900-1696 now, or leave a message online!
Common Electrical Issues in Homes and Businesses
Before delving into the art of electrical troubleshooting, it’s essential to familiarize yourself with the most common electrical issues that homeowners and professionals encounter. By understanding these issues, you can narrow down the potential causes and troubleshoot more efficiently.
One common problem is a flickering light. This can be caused by a loose bulb, a faulty switch, or even a wiring issue. Another common issue is a faulty outlet, which can be identified by a lack of power or loose connections. Additionally, short circuits are a frequent occurrence, often caused by faulty wiring or overloaded circuits.
By recognizing these common electrical problems, you can begin your troubleshooting process with a targeted approach, saving time and effort eventually.
Essential Tools for Electrical Troubleshooting
To effectively troubleshoot electrical issues, it’s important to have the right tools at your disposal. These tools will not only help you diagnose the problem accurately, but also ensure your safety during the troubleshooting process.
One essential tool is a multimeter, which allows you to measure voltage, current, and resistance. This versatile tool can help you identify faulty connections, open circuits, or short circuits. Another crucial tool is a voltage tester, which helps you determine whether an electrical circuit is live or not. This is essential for safely working with electrical components.
Other tools that are helpful during electrical troubleshooting include wire strippers, pliers, screwdrivers, and electrical tape. These tools assist in tasks such as stripping wires, tightening connections, and securing electrical components.
By having these tools readily available, you’ll be equipped to handle a wide range of electrical troubleshooting scenarios.
Safety Precautions for Electrical Troubleshooting
Before diving into electrical troubleshooting, it’s vital to prioritize safety. Working with electricity can be dangerous, and taking the necessary precautions is crucial to prevent accidents and injuries.
First, always turn off the power to the circuit you’ll be working on. This can be done by flipping the corresponding circuit breaker or removing the fuse. Additionally, wearing personal protective equipment (PPE) such as safety goggles and insulated gloves is essential to protect yourself from electrical shocks.
Furthermore, it’s important to work in a well-lit area and avoid handling electrical components with wet hands. Never overload circuits or use damaged tools, as this can lead to electrical hazards. By following these safety precautions, you can ensure a safe and successful electrical troubleshooting experience.
Step-by-Step Guide to Electrical Troubleshooting
Now that you understand the importance of electrical troubleshooting and have the necessary tools and safety precautions in place, it’s time to dive into the step-by-step process of diagnosing and resolving electrical issues.
Identify the problem
Begin by carefully observing the electrical component or circuit that is experiencing issues. Note any visible signs of damage or malfunction.
Check power supply
Ensure that the circuit breaker or fuse for the affected area is in the “on” position. If it’s off, flip it back on and see if the problem persists.
Inspect wiring connections
Examine the wiring connections associated with the problematic component or circuit. Look for loose or corroded connections, and tighten or clean them if necessary.
Test voltage
Use a multimeter or voltage tester to measure the voltage at different points along the circuit. Compare the readings to the expected values to identify any abnormalities.
Isolate the issue
If the problem persists, start isolating the issue by testing different components or sections of the circuit. This will help narrow down the potential cause.
Repair or replace
Once you’ve identified the specific issue, repair or replace the faulty component or section of wiring. Ensure that all connections are secure and properly insulated.
By following this step-by-step guide, you’ll be able to troubleshoot a wide range of electrical problems effectively and efficiently.
Troubleshooting Tips and Techniques
While the step-by-step guide provides a general framework for troubleshooting electrical issues, there are additional tips and techniques that can enhance your troubleshooting skills. These tips will help you approach complex problems and overcome common challenges.
Start with the basics
Always begin troubleshooting with the most basic and common causes. Check for loose connections, tripped circuit breakers, or blown fuses before diving into more complex diagnostics.
Use systematic testing
Instead of randomly testing different components, use a systematic approach. Start testing at one end of the circuit and work your way through each component methodically.
Keep a record
Maintain a record of your troubleshooting process, including the steps you’ve taken, measurements you’ve made, and any observations or findings. This record will be invaluable if you need to consult a professional or revisit the issue in the future.
Consult resources
Don’t hesitate to consult resources such as electrical manuals, online forums, or professional electricians for guidance. Often, others have encountered similar issues and can provide valuable insights.
By incorporating these tips and techniques into your troubleshooting process, you’ll become a more efficient and effective electrical troubleshooter.
Troubleshooting Specific Electrical Components – Outlets, Switches, and Light Fixtures
Now that you have a solid understanding of the general troubleshooting process, let’s explore specific troubleshooting techniques for common electrical components found in homes and businesses.
Outlets
When troubleshooting outlets, start by checking for loose connections or tripped circuit breakers. If the outlet is still not functioning correctly, use a voltage tester to ensure that power is reaching the outlet. If power is present, the outlet may need to be replaced.
Switches
For faulty switches, check for loose connections and ensure that the switch is properly wired. If the switch still doesn’t work, it may need to be replaced. Additionally, if multiple switches control the same light fixture, verify that the wiring is correct.
Light Fixtures
When troubleshooting light fixtures, start by checking the bulb and ensuring that it is securely screwed in. If the bulb is not the issue, use a multimeter to test the voltage at the fixture’s wiring connections. If no voltage is present, the wiring may be faulty and require repair.
By applying these specific troubleshooting techniques to outlets, switches, and light fixtures, you’ll be able to diagnose and resolve common problems with ease.
Troubleshooting Electrical Circuits and Wiring
In addition to troubleshooting individual components, it’s important to have the skills to troubleshoot entire circuits and wiring systems. This allows you to identify and resolve issues that affect multiple electrical components.
When troubleshooting circuits and wiring, consider the following:
Overloaded circuits
If you experience frequent circuit breaker trips or blown fuses, it may indicate an overloaded circuit. Evaluate the electrical load on the circuit and redistribute it if necessary.
Open circuits
An open circuit occurs when there is a break in the wiring, interrupting the flow of electricity. Use a multimeter to test for continuity along the circuit, identifying any breaks in the wiring. Repair or replace the damaged wiring as needed.
Short circuits
Short circuits occur when there is an unintended connection between two conductors. Use a multimeter to test for continuity and resistance, locating the point of the short circuit. Repair or replace the affected wiring or components.
By understanding how to troubleshoot circuits and wiring, you’ll be able to address more complex electrical issues and ensure the overall integrity of your electrical system.
When to Call a Professional Electrician
While developing your electrical troubleshooting skills is valuable, it’s important to recognize when a problem requires the expertise of a professional electrician. Some situations that warrant calling a professional include:
Electrical issues involving the main electrical panel or service entrance
Complex wiring problems that are beyond your skill level
Electrical problems in commercial or industrial settings
Electrical work that requires permits or compliance with local regulations
In these cases, it’s best to rely on the knowledge and experience of a licensed electrician who can safely and effectively address the issue.
Conclusion
Congratulations! You’ve now unlocked the secrets of electrical troubleshooting and gained the confidence to handle common electrical issues. By harnessing your electrical troubleshooting skills, you can save money, ensure safety, and become more self-reliant.
Remember, always prioritize safety and follow proper procedures when working with electricity. Use the step-by-step guide, tips, and techniques provided in this article to troubleshoot electrical issues effectively. And when faced with complex problems or situations beyond your expertise, don’t hesitate to seek the assistance of a professional electrician.
Our professional electricians are always ready to assist you in any electrical troubleshooting.
Premier Electrical Services will repair your electrical wiring or switchboard, replace faulty outlets and switches, install new wire, and more. To make a request, call us at 954-900-1696 or use the online report form.
Check out the latest news:
- Commercial Energy Audit: Spotting the Sources of Energy Waste
- Protect Your Fort Lauderdale Home with Whole-House Surge Protection
- Power Outages in Fort Lauderdale: How to Protect Your Home
- Preparing for a Home Rewiring Project: A Checklist for Homeowners
- 5 Critical Signs You Need a Whole-House Surge Protector


