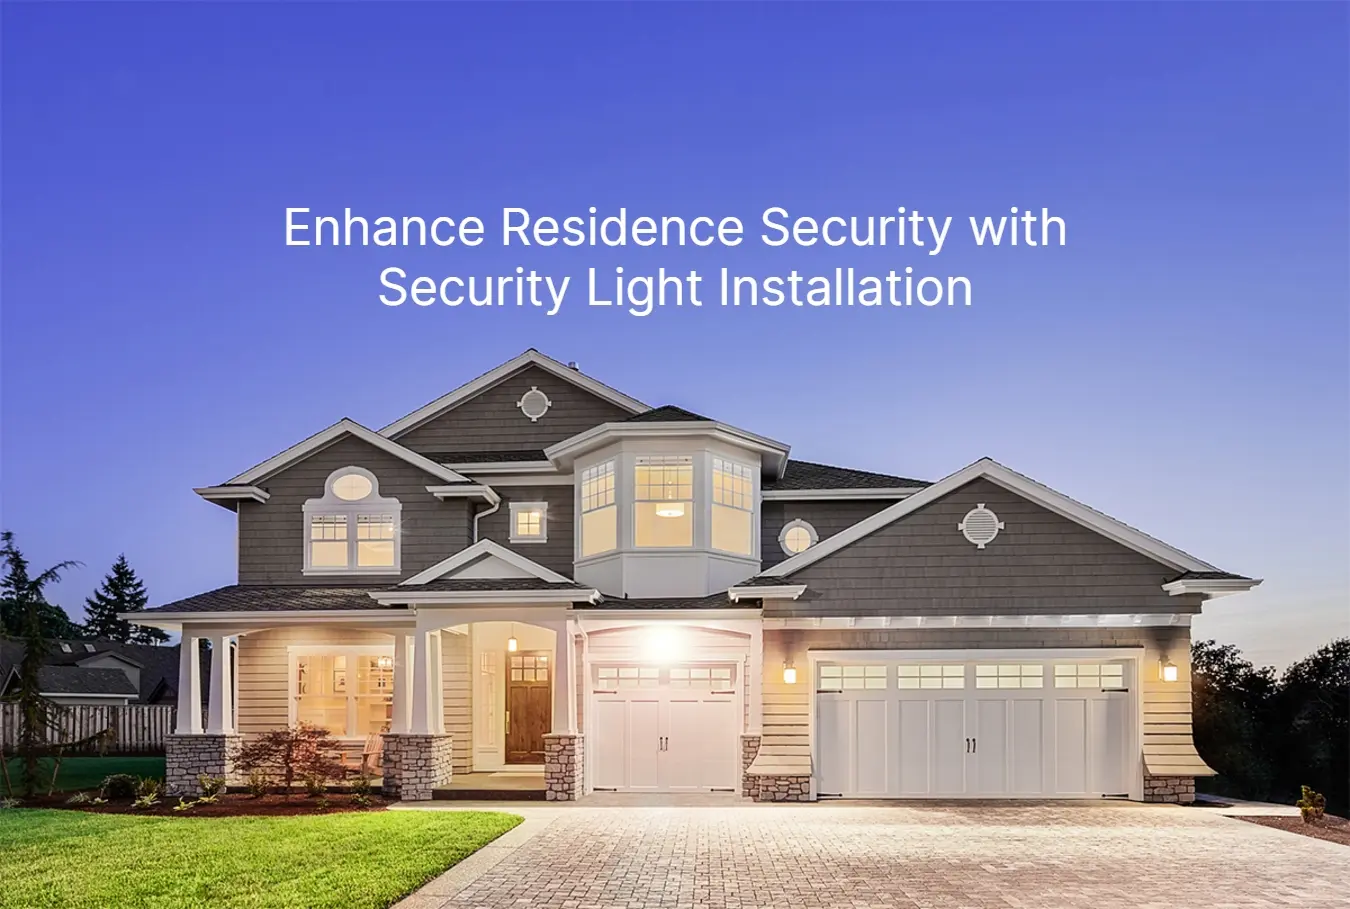
Are you looking to enhance the security of your home or office while adding a touch of elegance to your space? Look no further! In this step-by-step guide, we will show you how to brighten up your surroundings and deter intruders with the installation of security lights. Whether you’re a DIY enthusiast or a novice, this guide is designed to help you achieve a safe and aesthetically pleasing environment. We understand the importance of feeling secure in your space, and that’s why we’ve compiled this comprehensive tutorial to assist you in making the right choices for your security lighting needs. From selecting the right types of lights to positioning them strategically, we’ve got you covered. Join us as we embark on this illuminating journey to ensure that your space is well-lit and protected from any potential threats. Get ready to transform your surroundings with our easy-to-follow instructions and make your safety a top priority.
The Importance of Security Lighting
When it comes to home or office security, lighting plays a crucial role. Adequate lighting not only brightens up your space, but also acts as a deterrent to potential intruders. Well-lit areas make it difficult for criminals to hide or approach unnoticed, increasing the chances of them being spotted. Additionally, security lights create a sense of safety and discourage unwanted activities. Whether you live in a high-crime area or simply want to improve the security measures on your property, investing in security lighting is a smart choice.
Security lighting can be used both indoors and outdoors. Outdoor security lights are particularly important as they illuminate the perimeter of your property, making it less attractive to burglars or vandals. Whether it’s your garden, driveway, or entrance, lighting up these areas will make your property less susceptible to criminal activities. Moreover, security lights also provide safety for you and your visitors by ensuring that pathways and entrances are well lit, reducing the risk of accidents or trips.
If you are concerned about the lack of security in your home and want to improve the security measures on your property, consider installing security lighting.
A professional security lighting installation will help you properly illuminate your home and yard from the outside to enhance security. Premier Electrical Services will quickly and efficiently install security lighting outside. Call us at 954-900-1696 now or leave a message online.
Understanding Different Types of Security Lights
Before diving into the installation process, it’s essential to understand the different types of security lights available. Each type has its own unique features and benefits, so selecting the right one for your needs is crucial.
1. Motion-Activated Lights
These lights are designed to turn on when motion is detected. They are highly effective as they surprise potential intruders and draw attention to their presence. Motion-activated lights are ideal for areas where you want instant illumination, such as entrances or pathways.
2. Dusk-to-Dawn Lights
Also known as photocell lights, dusk-to-dawn lights automatically turn on at dusk and turn off at dawn. They provide a constant source of light throughout the night, ensuring that your property remains well-lit. These lights are energy-efficient, as they only operate when necessary.
3. Solar-Powered Lights
Solar-powered lights are environmentally friendly and cost-effective. They harness energy from the sun during the day and use it to power the lights at night. These lights are easy to install and require minimal maintenance. Solar-powered lights are an excellent option for areas with ample sunlight.
4. Floodlights
Floodlights are powerful lights that emit a broad beam of light, illuminating a large area. They are perfect for lighting up expansive spaces, such as driveways or gardens. Floodlights provide maximum visibility and can be an effective deterrent for intruders.
Selecting the right type of security light depends on various factors, including the layout of your property, your specific security needs, and your budget. Consider the unique features of each type and choose the one that aligns with your requirements.
Selecting the Right Location for Your Security Lights
Now that you have a deeper understanding of the different types of security lights, it’s time to determine the ideal locations for their installation. Proper placement is essential to maximizing the effectiveness of your security lighting system.
1. Entrances
Start by assessing the entrances to your property. These are the most vulnerable areas and should be well lit to deter potential intruders. Install security lights near the front and back doors, garage doors, and any other entry points.
2. Pathways and Walkways
Illuminate pathways and walkways to prevent accidents and make it easier for visitors to navigate your property. Install lights along the edges of pathways and ensure that they cover the entire length.
3. Driveways and Parking Areas
Parking areas and driveways are common targets for thieves. Install security lights to eliminate dark spots in these areas. Consider using floodlights for maximum coverage.
4. Garden and Landscape
If you have a garden or landscape, consider installing lights to showcase its beauty while enhancing security. Well-placed lights can make your property visually appealing while deterring intruders who prefer dark hiding spots.
5. Blind Spots
Identify any areas around your property that are poorly lit or have limited visibility. These blind spots can become potential hiding spots for intruders. Install security lights strategically to eliminate these areas of concern.
By strategically placing security lights, you can create a well-illuminated environment that discourages criminal activities and enhances the overall security of your property.
Tools and Materials Needed for Installation
Before you begin the installation process, gather the necessary tools and materials. Having everything prepared beforehand will make the process smoother and more efficient. Here are the essentials you’ll need:
1. Security Lights
Depending on your needs and preferences, purchase the appropriate type and number of security lights.
2. Ladder
A stable ladder is necessary for reaching high areas to mount the lights.
3. Screwdriver and Screws
These tools are needed to secure the lights in place.
4. Electrical Tape
Electrical tape is used to insulate and protect wires.
5. Wire Strippers
Wire strippers are necessary to remove the insulation from wires for proper connection.
6. Wire Nuts
Wire nuts are used to secure wires together during installation.
7. Electrical Cable
Measure the distance between the lights and the power source to determine the length of the electrical cable needed.
8. Outdoor Extension Cord
An outdoor extension cord may be required if the lights are located far from the power source.
Ensure that you have these tools and materials readily available to streamline the installation process.
Step 1: Planning Your Security Light Installation
Proper planning is essential for a successful security light installation. Follow these steps to ensure that you have a solid plan in place:
1. Assess Your Property
Take a walk around your property during the day and at night to identify areas that require additional lighting. Make note of any potential obstacles or challenges you may face during the installation process.
2. Create a Lighting Layout
Sketch a lighting layout diagram that outlines the locations where you intend to install the security lights. Consider the types of lights you have and their illumination range while planning the layout.
3. Check Wiring and Electrical Connections
Inspect the existing electrical connections to ensure they are in good condition. If you are unsure about the electrical wiring, it’s recommended to consult a professional electrician to avoid any safety hazards.
4. Measure Distances
Determine the distances between the lights and the power source, as well as between each light. This will help you determine the length of electrical cable needed.
By planning ahead, you can save time and avoid any potential issues during the installation process.
Step 2: Wiring and Electrical Considerations
Before proceeding with the installation, it’s important to understand the electrical considerations and ensure that you take the necessary precautions. Follow these steps for a safe and successful wiring process:
1. Turn Off Power
Locate the circuit breaker that controls the power to the area where you will be installing the security lights. Turn off the power to avoid any electrical accidents.
2. Prepare the Power Source
Identify the power source you will be connecting the lights to. If there is an existing outdoor electrical outlet, you can use it. Alternatively, you may need to install a new outdoor electrical box and outlet.
3. Run Electrical Cable
Measure and cut the electrical cable to the desired length, ensuring that it reaches from the power source to the first light and from one light to the next. Use cable clips to secure the cable to walls or other surfaces.
4. Connect Wires
Strip the insulation from the ends of the electrical cable and the wires on the security lights. Connect the corresponding wires using wire nuts, ensuring a secure and tight connection. Use electrical tape to insulate the connections.
5. Test Connections
Before proceeding further, turn on the power and test the connections to ensure that the lights are working properly. If the lights do not turn on, double-check the wiring connections.
Always prioritize safety when working with electricity. If you are uncertain about any electrical aspects, seek assistance from a qualified electrician.
Step 3: Mounting the Security Lights
With the wiring complete, it’s time to mount the security lights. Follow these steps to securely install the lights:
1. Position the Lights
Refer to your lighting layout diagram and position the lights accordingly. Use a ladder to reach higher areas, ensuring that it is stable and secure before climbing.
2. Mark Mounting Holes
Hold each light against the mounting surface and mark the locations for the mounting holes using a pencil or marker.
3. Drill Mounting Holes
Use a drill with the appropriate drill bit size to create the mounting holes. Ensure that the holes are slightly smaller than the screws to provide a tight fit.
4. Secure the Lights
Align the holes on the lights with the mounting holes and secure them in place using screws. Use a screwdriver to tighten the screws, ensuring that the lights are securely mounted.
Step 4: Adjusting the Angle and Sensitivity
To maximize the effectiveness of your security lights, it’s important to adjust the angle and sensitivity settings. Follow these steps to ensure optimal performance:
1. Angle Adjustment
Most security lights have an adjustable head that allows you to change the angle of the light beam. Position the lights so that they cover the desired area without causing unnecessary glare or shadows.
2. Sensitivity Settings
Depending on the type of security light you have, there may be sensitivity settings that control the range at which motion is detected. Adjust these settings based on your preferences and the specific requirements of your property.
Finding the right balance between coverage and sensitivity will ensure that your security lights effectively deter potential intruders.
Step 5: Testing and Troubleshooting
After completing the installation and adjustments, it’s crucial to test the security lights and troubleshoot any issues that may arise. Follow these steps to ensure that everything is functioning correctly:
1. Turn on the Power
Restore power to the area and turn on the circuit breaker. This will supply power to the security lights.
2. Test the Lights
Walk around your property and test each security light to ensure that it turns on when motion is detected. Make any necessary adjustments to the angle or sensitivity settings, if required.
3. Troubleshooting
If any of the lights are not functioning properly, double-check the wiring connections and ensure that the power source is working correctly. If the issue persists, consult the manufacturer’s troubleshooting guide or seek professional assistance.
Maintenance and Upkeep of Security Lights
To ensure the longevity and optimal performance of your security lights, regular maintenance and upkeep are essential. Follow these tips to keep your lights in top shape:
1. Inspect Regularly
Periodically inspect the lights for any signs of damage or wear. Check for loose connections, damaged wires, or burned-out bulbs.
2. Clean the Lights
Remove any dirt, debris, or spider webs that may accumulate on the lights. Clean them gently using a soft cloth or a non-abrasive cleaning solution.
3. Replace Bulbs
If a bulb burns out, replace it promptly to maintain consistent lighting throughout your property.
4. Adjust as Needed
Regularly check and readjust the angle and sensitivity settings to ensure optimal performance.
By following these maintenance tips, you can ensure that your security lights remain in excellent condition and provide reliable security for years to come.
Additional Tips for Maximizing Security with Lighting
While security lights are an exceptional deterrent, combining them with other security measures can enhance the overall safety of your property. Consider implementing the following tips to maximize security:
1. Use Timers or Smart Lighting
Install timers or smart lighting systems to automate the operation of your security lights. This gives the impression that someone is home, even when you’re away.
2. Combine with Security Cameras
Pair your security lights with surveillance cameras to capture any suspicious activity. The combination of lights and cameras provides a strong deterrent against potential intruders.
3. Consider Light Colors
Different light colors can create different effects. Cool white lights provide bright and clear illumination, while warm white lights create a softer and more welcoming ambiance. Experiment with different colors to find the one that suits your needs best.
4. Regularly Assess and Upgrade
As technology advances, new security lighting options become available. Regularly assess your security needs and consider upgrading your lighting system to take advantage of the latest features and enhancements.
By adopting these additional measures, you can create a comprehensive security system that provides peace of mind and protects your property effectively.
Conclusion
You’ve successfully completed the installation of your security lights. By following this step-by-step guide, you have brightened up your space and deterred potential intruders. Remember, security lighting is a crucial component of a comprehensive security system. It not only enhances the safety of your space, but also adds an elegant touch to your surroundings. By carefully selecting the right types of lights, strategically positioning them, and maintaining them regularly, you can ensure that your property remains well-lit and protected. Invest in your safety and make security lighting a priority in your home or office. Illuminate your space and enjoy the peace of mind that comes with a well-protected environment.
If you find it difficult to install security lighting yourself, then Premier Electrical Services is always ready to provide professional assistance in installing security lighting in your residence.
Call us at 954-900-1696 now or leave a message online.
Check out the latest news:
- Commercial Energy Audit: Spotting the Sources of Energy Waste
- Protect Your Fort Lauderdale Home with Whole-House Surge Protection
- Power Outages in Fort Lauderdale: How to Protect Your Home
- Preparing for a Home Rewiring Project: A Checklist for Homeowners
- 5 Critical Signs You Need a Whole-House Surge Protector